How to Use AudGeek AmaziTune Converter (Windows)
1. Register Full Version of AudGeek AmaziTune Converter (Windows)
If you are using free trial version of AudGeek AmaziTune Converter and haven't registered full version, there will be two limitations: (1) You can only convert 3 music files at a time. (2) You can only convert 3 minutes for each song.
To unlock the limitations of free trial version, please choose a license plan. We provide flexible license plans including 1-month license, 1-year license, lifetime license and family license. After purchasing a license, you will receive a registration code and then you can follow the steps below to register full version and enjoy all the wonderful features.
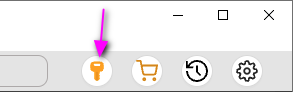
Step 1 Launch AudGeek AmaziTune Converter on your Windows computer, you will see a key icon at the upper right corner of software interface. Click the key icon to display registration dialog. Or you can click menu Help > Register.
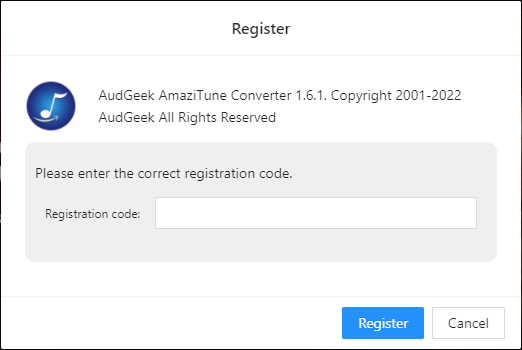
Step 2 Registration dialog will pop up, and you will see "Registration code" blank box.
Step 3 After you have successfully placed an order, you will receive an email with registration code and other necessary information. Please copy the registration code from the email, paste in the blank box and click Register button.
Note 1: The registration code is a long string of upper-case letters and numbers. It is case sensitive. Please do not add extra blank at the beginning or at the end of the code, and make sure what you copied is complete.
Note 2: Please make sure you have internet connection when registering the product. Please contact us if you didn't receive your registration code.
2. Upgrade AudGeek AmaziTune Converter (Windows) to the Latest Version for Free
Upgrading to the latest version is always free. There are two easy ways you can use to upgrade AudGeek AmaziTune Converter to the latest version. No matter which way you use, registration status will be kept and you don't need to register the product again.
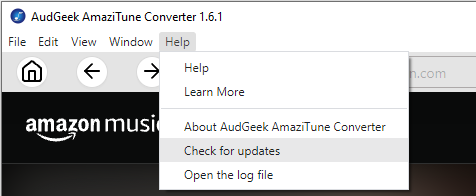
Method 1 Launch the product, click menu Help > Check for updates. If there is a new version, you will see a popup dialog. Click "OK" button to download the latest version. When downloading is done, install it to overwrite the old version and you will get the latest version. In fact, when you launch the program, it will pop up "Check for updates" dialog automatically if there is a new version.
Method 2 The "Free Trial" button on our website always links to the latest version. So you can always click "Free Trial" button to download the latest version. When downloading is done, simply install it to overwrite the old version, and you will get the latest version.
3. AudGeek AmaziTune Converter (Windows) Step-by-step User Guide
Note: In the user guide below, we will use registered full version to demonstrate how to use this program. Please be aware of the limitations of trial version we mentioned in the part 1 above if you see something different from our guide when using trial version.
We may update this guide time and time, especially there is an obvious interface change or a new important feature. However, we may not update the screenshots below if there is no interface change or new important feature in the new version. So sometimes, the newest version number on your side may not be the same as what you see in the screenshots below.
Step 1 Launch the Program and Sign In
Launch AudGeek AmaziTune Converter and a built-in Amazon Music web player will be launched as well. There will be a "Sign In" button at the upper right corner of software interface with a hint message saying "Click here to login: Please click the button to log in your account". Click "Sign In" button, enter your Amazon account and password to sign in Amazon Music web player.
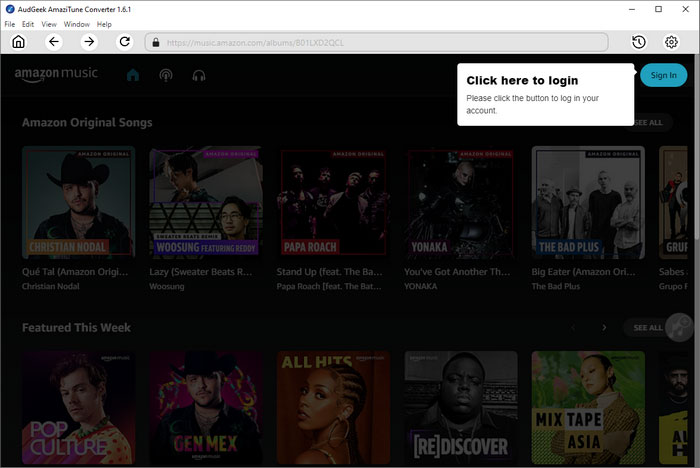
The message will be only displayed in the first launch or you have logged out your account. If you don't want to sign in every time you launch the program, please also check "keep me signed in" option in the sign-in screen.
Step 2 Adjust Output Settings (Optional)
AudGeek AmaziTune Converter provides MP3, AAC (M4A), WAV, FLAC and AIFF output formats and Auto option. By default, output format will be set to Auto option, which is actually 256kbps M4A. If you want to change output format, you can click "Settings" icon at the upper right corner of software interface and select the format you want.

In Settings dialog, you can also change output folder, rename output files in batch, sort output files into folders, choose an action after conversion, choose software interface language and choose your country or region. It's recommended to adjust the settings before conversion.
In "Output File Name" list, you can use the tags {Title}, {Album}, {Artist}, {Track Number}, {Playlist Index}, {Space}, {-} and {Space-Space}. By default, you will only use {Title}, however, you can rename the output files flexibly like "{Artist}{Space-Space}{Title}", "{Album}{Space-Space}{Title}", "{Album}{Space-Space}{Track Number}{Title}", etc. You can use the left arrow to delete the tags and edit again.
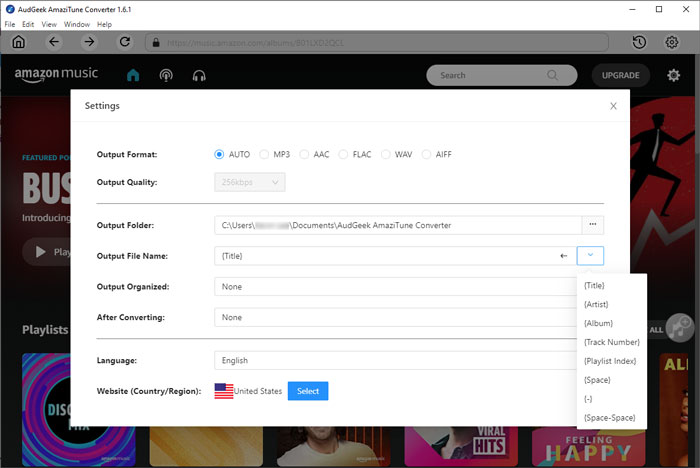
In "Output Organized" list, you can sort output files into Artist, Album, Artist/Album or Album/Artist folders or use "None" to put all the output files in the same folder. As to "After Conversion" list, you can choose "Open the output folder" or "Put the computer to sleep".
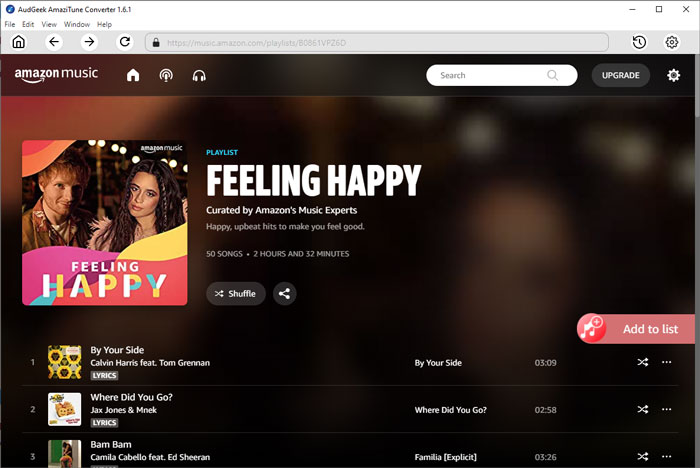
Step 3 Open an Album or a Playlist
Now you can browse your favorite playlists and albums in the built-in Amazon Music web player. You can click on the artwork of your favorite playlist or album to open the detailed page. If you open an artist page, there should be multiple albums and you need to click on the artwork of your favorite album to open the detailed album page.

Step 4 Add to Conversion List
In the detailed page of an album or a playlist, you will see a music button with plus symbol in the middle right. Move your mouse to the button and it will be changed to "Add to list" button. Click "Add to list" button to add all the songs in the playlist or in the album to conversion list.
Step 5 Choose Songs
By default, all the songs in the playlist/album will be added in checked status. However, if necessary, you can uncheck the songs you don't want to convert. Music information like title, artist, album, duration and artwork thumbnail will be displayed as well. If the conversion list includes 100 or more songs, you can choose to display 10, 20, 50 or 100 songs per page. If you have converted a part of the album or the playlist and you want to hide the converted songs, you can click "Show All" button and switch to "Hide converted" button.
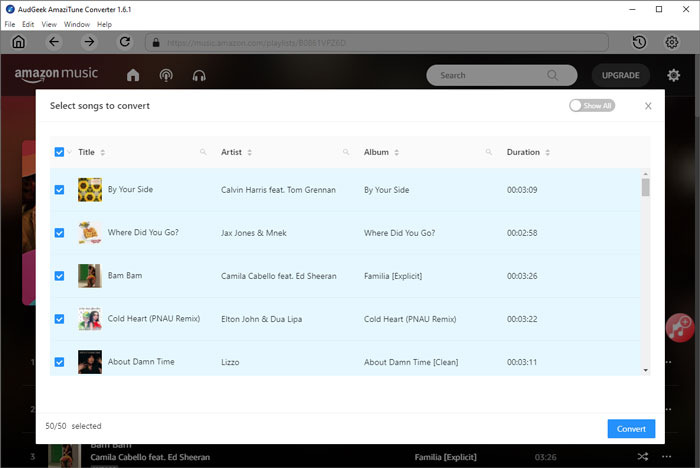
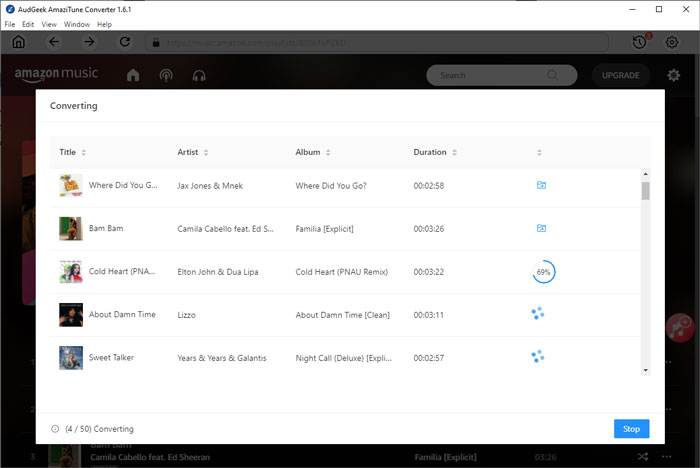
Step 6 Start Conversion
Now simply click the "Convert" button to start conversion. All the checked Amazon Music songs will be converted to MP3, M4A or specific output format at 20X faster speed. It only costs you 10 seconds to convert a 4-minute song.
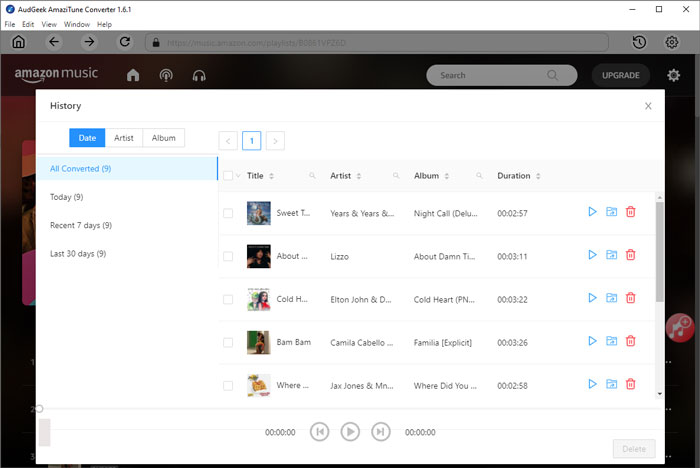
Step 7 Check Conversion History (Optional)
After conversion, you can simply click "History" icon at the upper right corner of software interface to check all the converted songs. The history output songs can be viewed by date, artist or album. If necessary, you can play the songs here and you can delete the history only without deleting the files, or delete both history and local files.